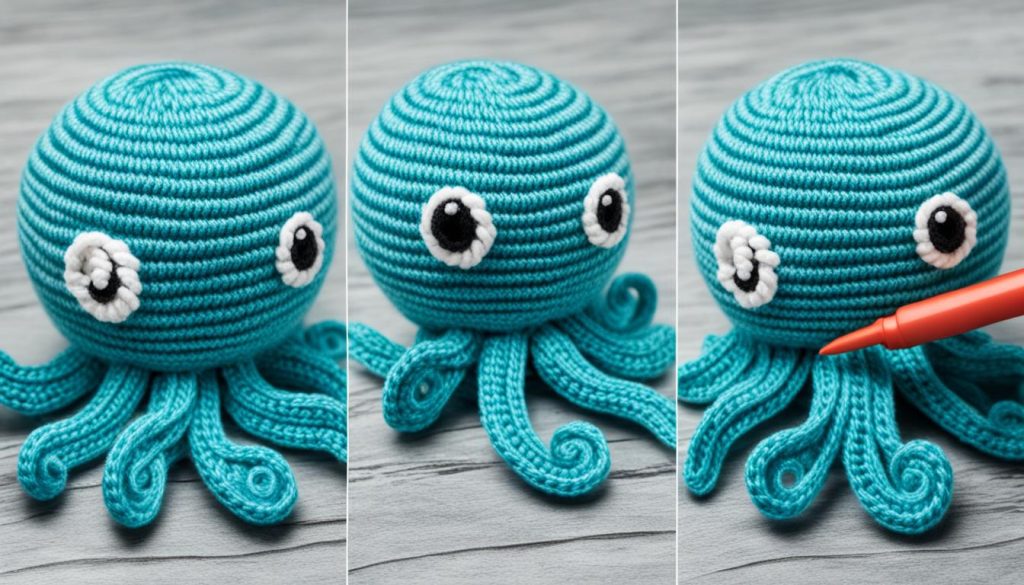
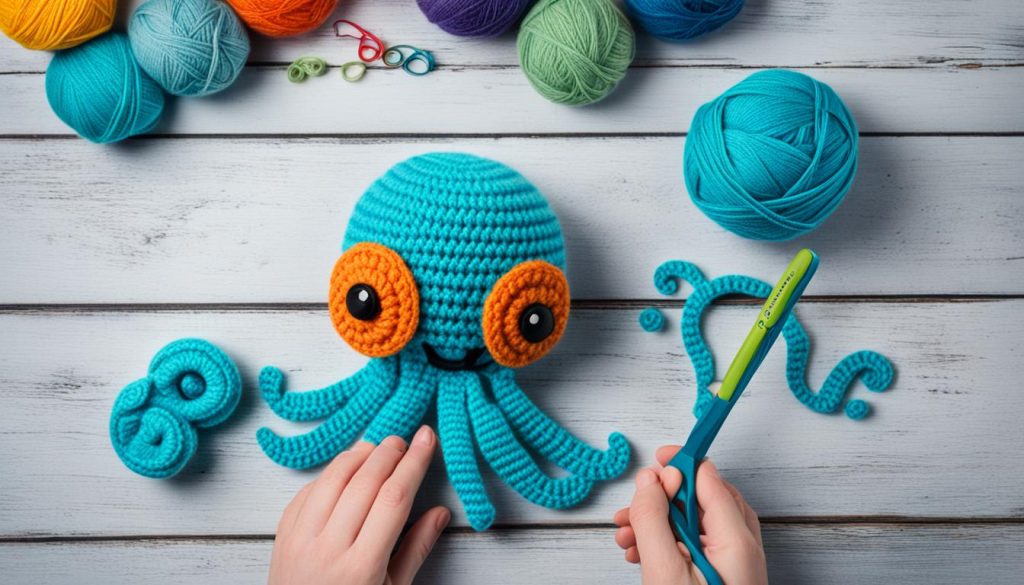
Are you ready to embark on a creative journey and learn how to crochet an octopus? Whether you’re a beginner or an experienced crocheter, this tutorial is tailored just for you. Get your crochet hooks ready and let’s dive into the fascinating world of amigurumi!
Have you ever wondered how those adorable crochet octopuses are made? Or maybe you think crochet is too complicated for beginners? Well, we’re here to prove you wrong! In this article, we’ll walk you through the step-by-step process of creating your very own crochet octopus, from start to finish. Get ready to unleash your creativity and discover the joy of amigurumi!
Key Takeaways:
- Whether you’re a beginner or experienced, this crochet octopus tutorial is for you.
- We’ll guide you through the step-by-step process of creating your own amigurumi octopus.
- Crocheting an octopus is easier than you think, even for beginners.
- Prepare your tools and materials before starting the project.
- Follow our expert tips and tricks to make your crochet octopus look adorable.
Materials You’ll Need for Crocheting an Octopus
Before you dive into the world of octopus crochet techniques, let’s gather all the necessary materials for your DIY octopus crochet project. Here’s a list of items you’ll need to get started:
- Yarn: Choose a soft, colorful yarn to bring your octopus to life. Acrylic or cotton yarn are great options.
- Crochet Hooks: Make sure you have a range of crochet hook sizes to match the yarn thickness. Start with sizes G or H for most projects.
- Stuffing: You’ll need a polyester fiberfill or another type of stuffing material to stuff your octopus and give it a cuddly shape.
- Scissors: A good pair of sharp scissors will come in handy for cutting yarn and trimming any loose ends.
- Safety Eyes: If you want to add a whimsical touch to your octopus, consider using safety eyes. They come in various sizes and colors.
- Yarn Needle: A yarn needle with a large eye is essential for weaving in loose ends and sewing on any additional components.
- Stitch Markers: These little helpers will be useful for marking your stitches and keeping track of your progress.
- Embellishments: If you’re feeling creative, feel free to add some unique touches such as ribbons, bows, or even small accessories to personalize your octopus.
Remember, the specific materials you choose may vary depending on your preferences and the design of your octopus. Feel free to experiment and make it your own!
Now that we’ve gathered all the necessary materials, it’s time to dive into the step-by-step guide to crocheting an octopus. Let’s get started in the next section!
Step-by-Step Guide to Crocheting an Octopus
Now let’s dive into the actual process of crocheting an octopus. We’ll provide a detailed step-by-step guide, along with helpful tips and tricks to make the process easier. From creating the body and tentacles to adding eyes and details, we’ll cover all the essential steps to complete your octopus amigurumi.
Materials You’ll Need:
- Yarn – Choose a soft, medium-weight yarn in your preferred colors. Acrylic yarn works well for amigurumi projects.
- Crochet Hook – Select a crochet hook size that matches the yarn weight. For medium-weight yarn, a 3.5mm or 4mm hook is commonly used.
- Stuffing – Use polyester fiberfill or any soft, lightweight stuffing material to give your octopus a plush feel.
- Scissors – A sharp pair of scissors will be handy for cutting yarn strands and trimming.
- Tapestry Needle – You’ll need a large-eyed needle to weave in loose yarn ends and attach various parts.
- Safety Eyes or Embroidery Thread – To give your octopus a cute expression, consider using safety eyes or embroidering eyes using embroidery thread.
Once you have all the materials ready, let’s begin the step-by-step process of crocheting your octopus:
- Create the Octopus Body:

Start by making a magic ring with your chosen yarn color. Then, work single crochet stitches into the ring, gradually increasing the number of stitches in each round to form a circular shape. Continue crocheting until the body reaches your desired size, stuffing as you go along. Remember to leave an opening for the stuffing. Close the opening and fasten off the yarn securely.
- Crochet the Octopus Tentacles:
For the tentacles, crochet long chains of stitches and then single crochet back along each chain. Repeat this process to create multiple tentacles, as many as you like. You can vary the length and thickness of the tentacles for a more playful look.
Tip: To achieve a unique, curly effect, gently twist and bend the tentacles once you’ve completed the crocheting.
- Attach the Tentacles to the Body:
Using the tapestry needle, sew the base of each tentacle to the bottom of the octopus body. Be sure to evenly distribute the tentacles around the body to create a symmetrical appearance.
- Add Eyes and Details:
If you’re using safety eyes, carefully insert them between rounds on the body and secure them in place. Alternatively, you can embroider eyes using embroidery thread. Use additional yarn or embroidery thread to create a smile or other facial details if desired.
And voila! You’ve successfully crocheted an adorable octopus amigurumi. Feel free to customize your octopus with different colors, accessories, or even make a family of octopuses using different sizes.
Conclusion
Congratulations! You’ve successfully completed your octopus crochet project. In this article, we’ve provided you with an easy-to-follow tutorial, guiding you through the process from start to finish. Now you can enjoy your cuddly sea friend or gift it to someone special.
Remember, practice makes perfect, so don’t hesitate to explore more crochet projects in the future. Crocheting is a wonderful craft that allows you to create beautiful and personalized items. Whether you want to make more adorable amigurumi creatures or try your hand at different crochet techniques, the possibilities are endless.
By mastering the art of crocheting, you can unleash your creativity and produce unique handmade gifts for your loved ones or even start your own small business. The satisfaction of seeing your creations come to life with each stitch is unmatched.
So, keep those crochet hooks busy and continue to enjoy the therapeutic and rewarding experience of crocheting. Happy crocheting!
FAQ
How long does it take to crochet an octopus?
The time it takes to crochet an octopus depends on your skill level and the complexity of the pattern you’re using. On average, it can take anywhere from a few hours to a few days to complete an octopus.
What type of yarn should I use for crocheting an octopus?
For crocheting an octopus, it’s best to use a soft and durable yarn that is suitable for amigurumi projects. Acrylic yarn is a popular choice due to its affordability and easy care. Other options include cotton and bamboo yarn. Choose a yarn that feels comfortable in your hands and provides the desired texture for your finished octopus.
What size crochet hook should I use for crocheting an octopus?
The size of the crochet hook you use will depend on the thickness of your yarn and the tightness of your stitches. In general, a hook size between 2.5mm to 4mm is commonly used for amigurumi projects. However, it’s always a good idea to check the instructions of your specific pattern for the recommended hook size.
How do I stuff the octopus properly?
Properly stuffing the octopus is important to achieve a nice shape and provide cuddliness. Start by pushing small amounts of stuffing into the head and tentacles using your fingers or a stuffing tool. Make sure to distribute the stuffing evenly to avoid lumps or gaps. Keep adding stuffing until the octopus feels firm but still soft to the touch.
Can I customize my octopus with different colors or accessories?
Absolutely! Crocheting an octopus gives you the creative freedom to experiment with different colors and add personal touches. You can use different shades of yarn to create patterns or use yarn in various colors for the tentacles. Additionally, you can attach accessories like bows, ribbons, or small buttons to give your octopus a unique look. Let your imagination guide you!

